Turbine Quickstart
Welcome to Turbine. You can use this tutorial to walk yourself through getting started. In this process, you will:
- Search on the docs site
- Create a new SKU in Turbine
- Create a new Vendor in Turbine
- Add your SKU to the Vendor
- Cut a Purchase Order in Turbine
- Add a Node in Turbine
- Check Inventory for a SKU
- Add freight shipments to a Purchase Order in Turbine
- Create a receipt for a Purchase Order in Turbine
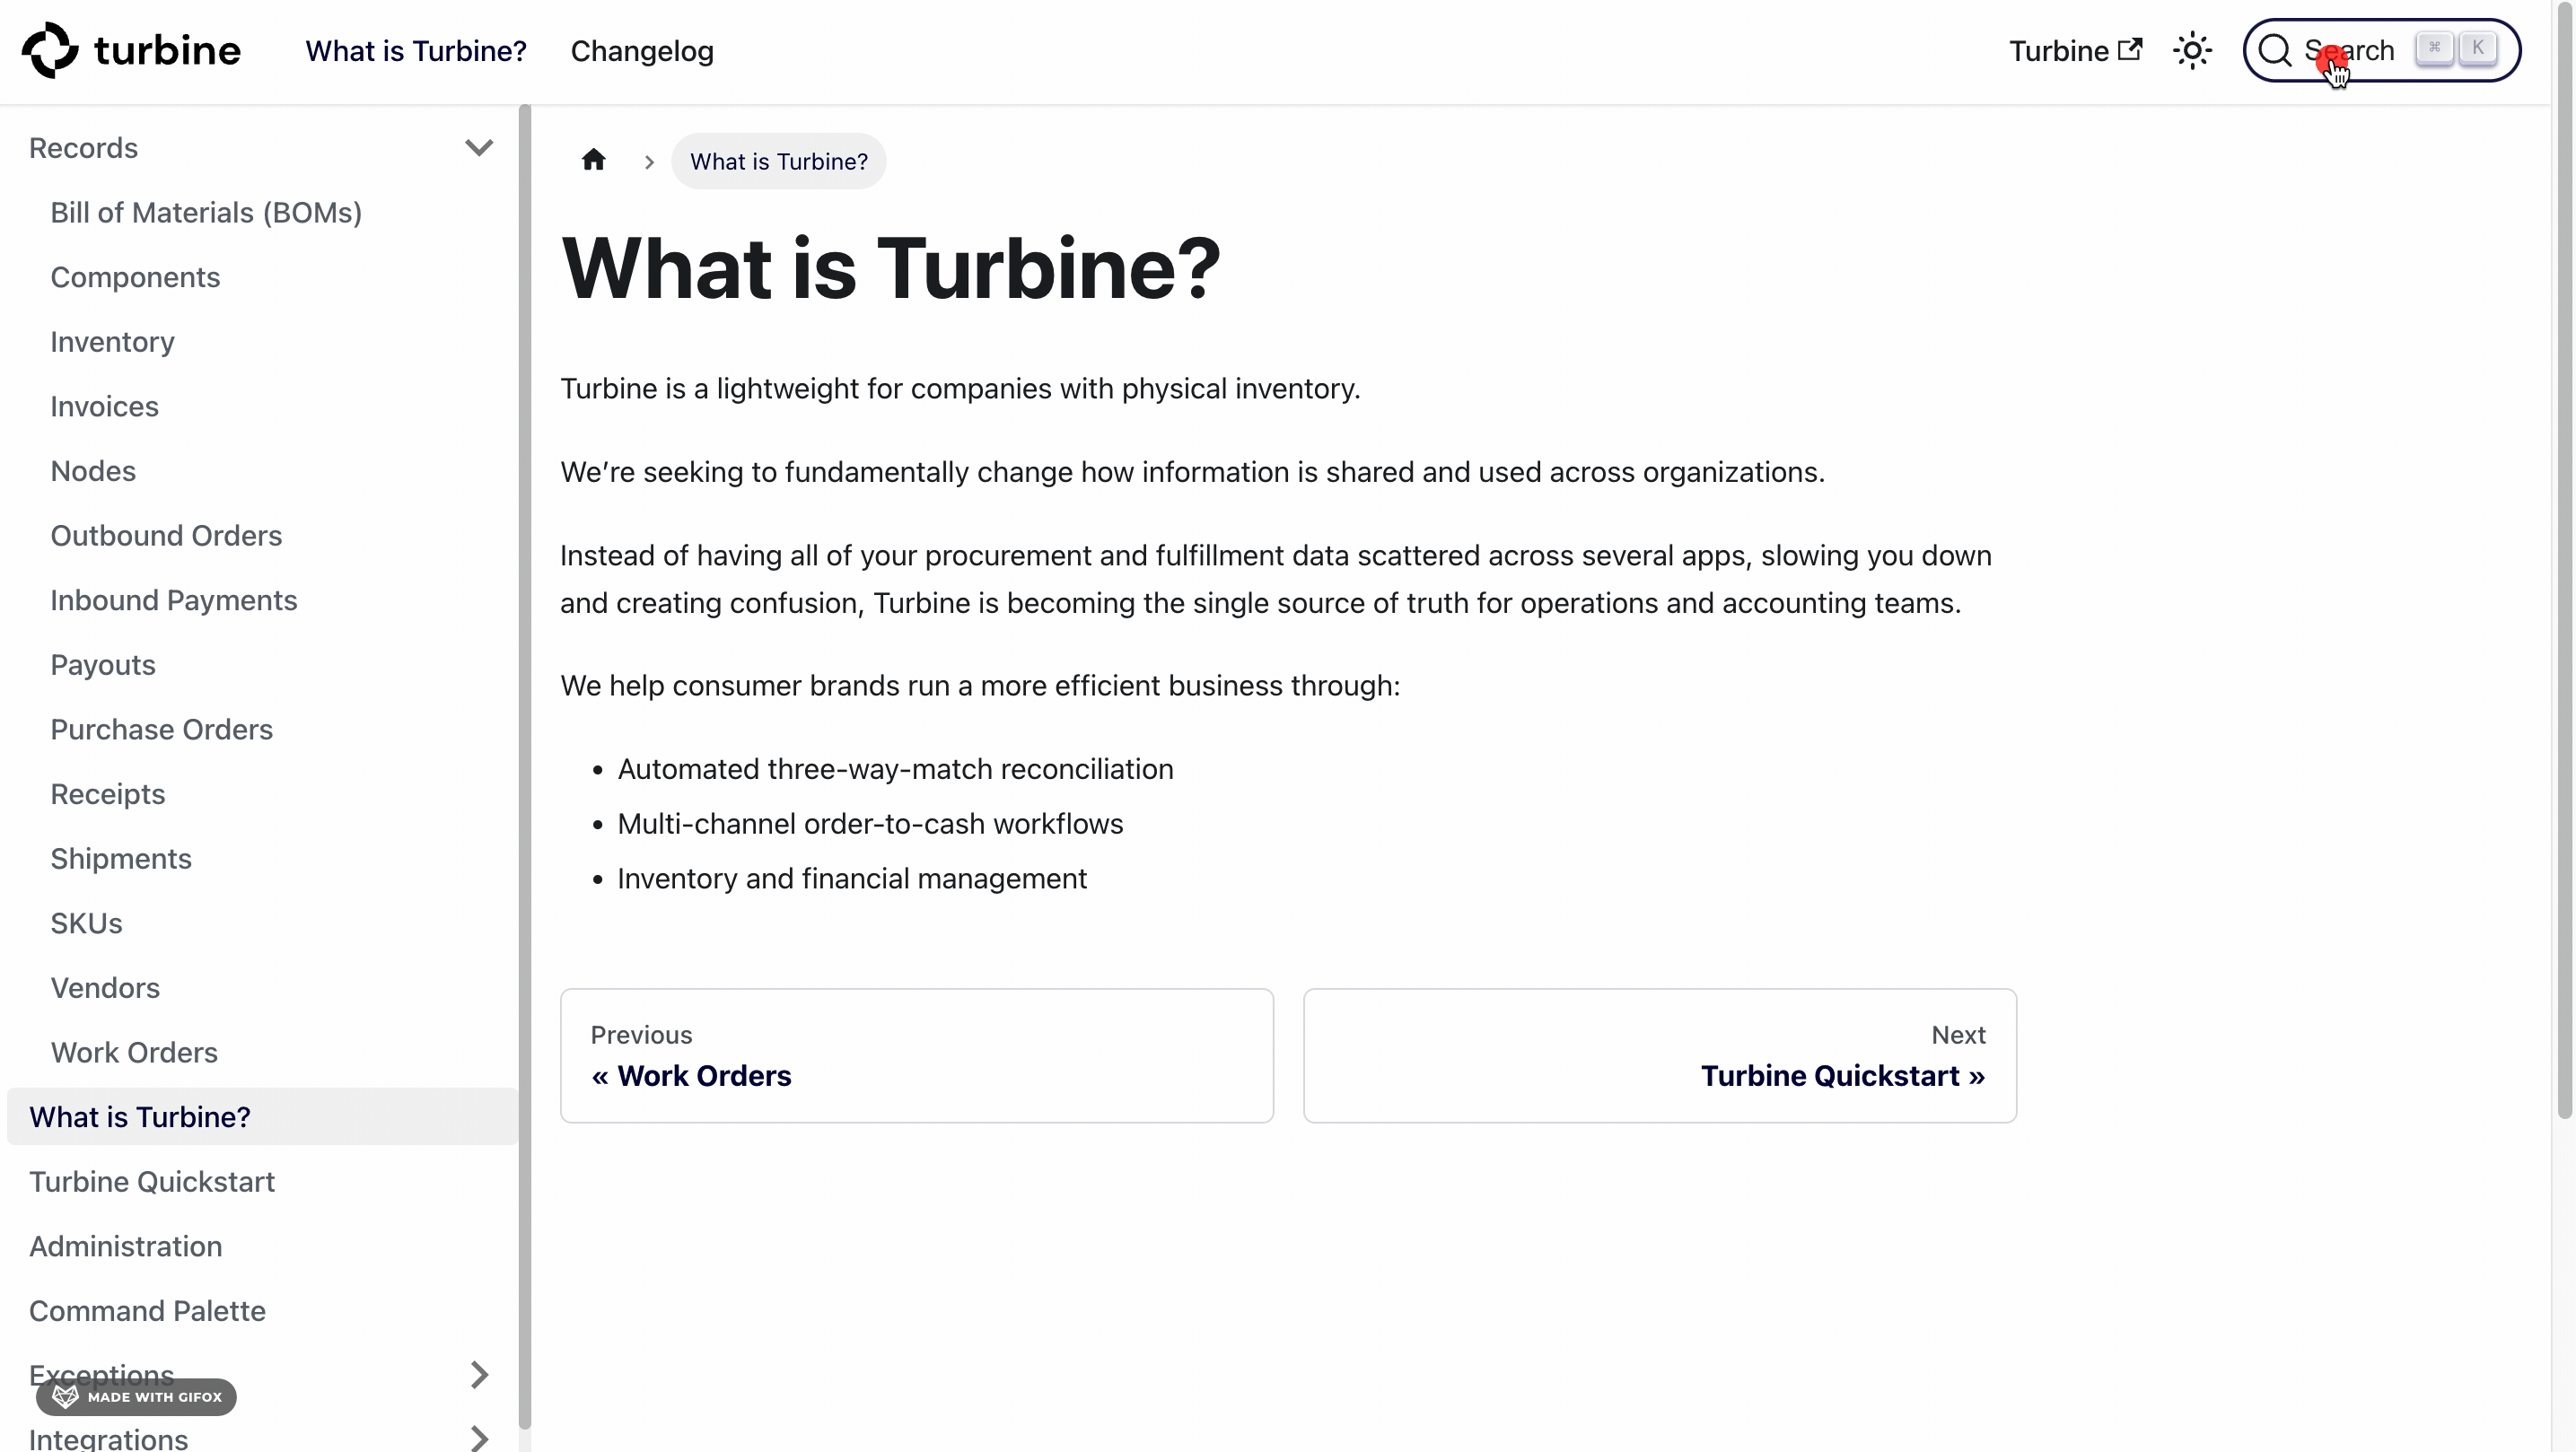
How to Search on the docs site
- Go to the docs site.
- Hit the maginify icon on the top right-side of your screen and type what you're looking for.
- Alternatively, you can type Ctrl+k on a mac or Cmd+ k on a PC and type what you're looking for.
Creating a new SKU in Turbine
- Go to "Products" in the navigation bar and select “SKUs”.
- Select New Sku.
- Add SKU title, SKU, and final price of the SKU, and create SKU.
- If available, you can add other info such as barcode value.
Creating a new vendor in Turbine
- Ctrl+k or Cmd+ k and type “Vendors” to go to the Vendors page or go to procure to pay and select “Vendors”.
- Select New Vendor.
- Add name of vendor, legal name of vendor (if different from name of vendor), and default incoterm if any, and create vendor.
- Fill out all available contact details and click “Update Vendor”.
- In the “Add Vendor SKU” section link the SKU/s of the vendor by adding it.
- In Vendor SKU add what the vendor calls the SKU such as a code.
- Add lead time and unit cost to link SKU.
Cutting a new Purchase Order (PO) in Turbine
- Ctrl+k or Cmd+ k and type “Purchase Order” to go to the Vendors page or go to procure to pay and select “Purchase Orders”.
- Select New PO.
- Add Vendor, Requested Ready Date, and PO Number.
- Add SKU or Component. Include Price, Quantity and Node and click “Add Item”.
- Select “Submit PO”.
- Click on the mail icon and Preview/Download PDF to see the PDF and double check info.
- You can also edit a PO by clicking the "Edit Purchase Order" button.
Creating a new Node in Turbine
- Go to the Nodes page.
- Click on the "New Node" button located at the top right of the screen.
- Fill out the required information including Name, Company, Code, Type, Street Address, State/Province, City, and Postal Code.
- Hit the "Create Node" button.
Checking inventory for a SKU
- Go to the Inventory Page.
- Find the SKU you are looking for and note the Incoming Inventory quantity (first column).
- When you cut a Purchase Order (PO), you'll see the Incoming Inventory quantity for the specific SKU in the PO increase by the entered quantity.
Adding freight shipments to a PO in Turbine
Once a PO is cut, you can add freight shipments to include carrier information.
- In the relevant PO details page, click the "Add Freight Shipment" button.
- Fill out the relevant information for carrier, cost, allocation model, and tracking number.
- Hit the "Save" button, followed by the "Finished" button.
Creating a receipt from a PO in Turbine
- Go to the Purchase Orders Page.
- Next, select the PO you want to receive.
- Alternatively, you can bang search by typing CMD+K or CTRL+K and !po and type the PO number.
- Select the "Receive Purchase Order" button on the top right-side of your screen.
- Fill out the relevant information, including Receipt Number, Receipt Date, Lot number, and Quantity.
- Hit the "Create Receipt" button.